Your front room, the first impression guests get when they step through the door, deserves lighting that works as hard as it looks good. Whether you’re renovating an entire home or just swapping out tired overhead fixtures, choosing the right front room ceiling lights can transform the space from dim and uninviting to warm and welcoming. This guide walks you through fixture types, sizing, brightness levels, installation basics, and design ideas to help you make an well-informed choice. You’ll learn what separates a functional lighting setup from one that genuinely enhances your home’s character and usability.
Table of Contents
ToggleKey Takeaways
- Front room ceiling lights should balance style and function—use layered lighting with overhead fixtures, task lighting, and accent sources rather than relying on a single overhead light.
- Semi-flush mounts work best for standard 8–9 foot ceilings, while chandeliers require 10-foot ceilings or higher and should be sized so the diameter in inches roughly equals the room width in feet.
- Aim for 20 lumens per square foot of brightness and choose warm white color temperatures (2,700–3,000K) to create a welcoming, cozy atmosphere in entryways and foyers.
- Always turn off power at the breaker and test the circuit with a voltage tester before installing ceiling lights; hire a licensed electrician if you’re uncomfortable with electrical work or local codes require it.
- Match your front room ceiling light finish to existing hardware and fixtures in your home—matte black, brushed brass, and brushed nickel coordinate visual flow and enhance overall design cohesion.
Types of Front Room Ceiling Light Fixtures
Flush Mount and Semi-Flush Options
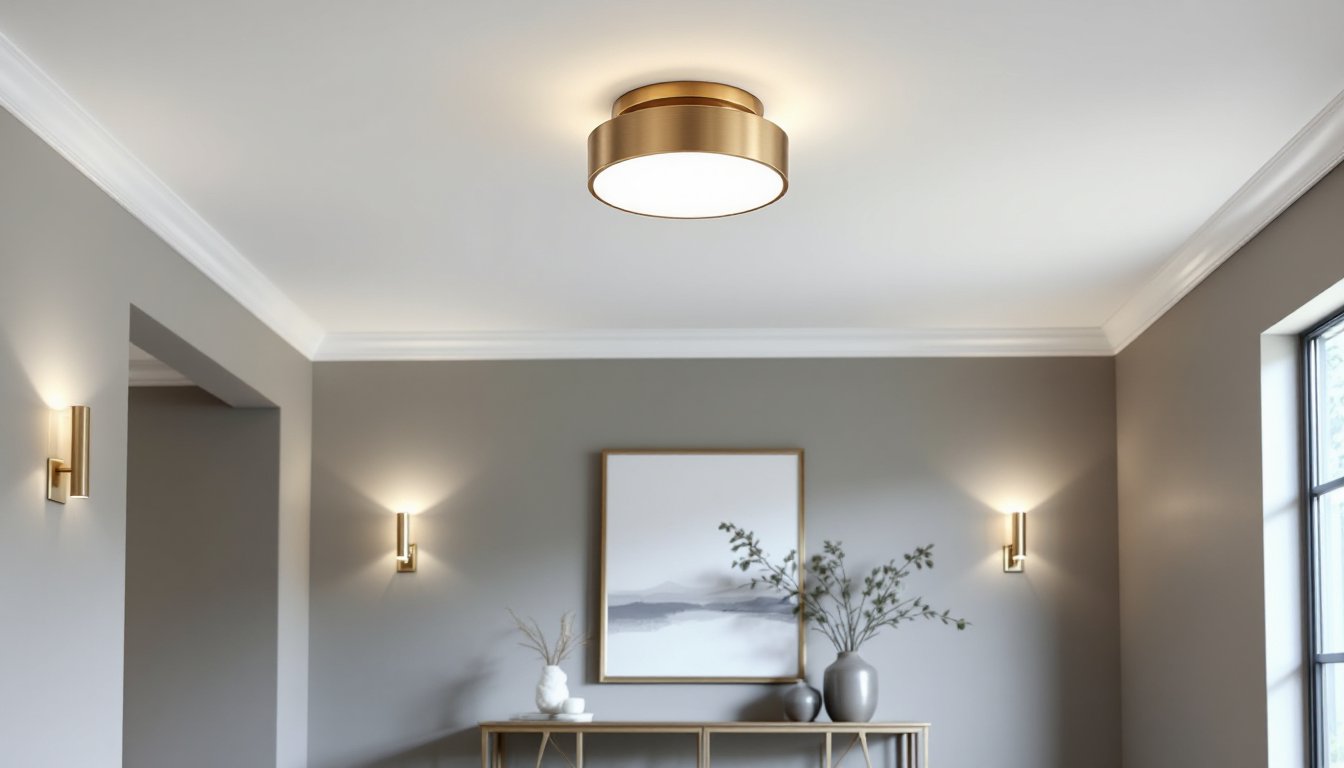
Flush mount fixtures sit tight against the ceiling, ideal when ceiling height is limited or you want a clean, minimal look. They’re also the most forgiving for DIY installation since they don’t demand much depth above the drywall. Semi-flush mounts hang down 4 to 12 inches, giving you a little breathing room visually and offering a nice middle ground between recessed and statement lighting.
For a 8-foot or 9-foot ceiling (typical in most front rooms), semi-flush works particularly well. Recessed lighting setups have gained popularity, and if you’re working with existing joists, recessed lighting fixtures offer a sleek, built-in appearance. Both flush and semi-flush options come in countless finishes, brushed nickel, matte black, bronze, polished brass, so matching your home’s aesthetic is straightforward.
Chandeliers and Statement Fixtures
Chandeliers and larger decorative fixtures make a visual statement, but they need adequate space. Reserve these for rooms with 10-foot ceilings or higher, and measure carefully before committing. A chandelier that’s too large can feel oppressive: too small looks lost. Most designers recommend sizing the diameter (in inches) to roughly equal the room width (in feet), so a 12-foot-wide room works with a 12-inch chandelier.
Statement fixtures come in countless styles: traditional crystal, industrial metal, mid-century modern, rustic farmhouse. Angled recessed lighting designs are another option if you want something less ornate but still distinctive. Consider the weight, electrical demands (some need dedicated circuits), and whether you’re comfortable with the installation complexity. Heavier fixtures (over 50 pounds) may need a retrofit brace rather than relying on standard ceiling hangers.
Choosing the Right Size and Style for Your Space
Room dimensions matter far more than you’d think. A front room measuring 12 × 14 feet calls for different fixture sizing than a cozy 10 × 10 entryway. Measure the ceiling height and room width, then use those as anchors for your decision.
For standard 8- to 9-foot ceilings, a semi-flush fixture between 12 and 18 inches in diameter works well. If your front room opens into a hallway or living area, consider how light spills into adjacent spaces, harsh shadows and mismatched brightness can make transitions feel awkward.
Style ties directly to the rest of your home. A ultra-modern minimalist space clashes with ornate Victorian chandeliers. Walk through your living room and entryway, noting the color palette, cabinet hardware, and existing fixtures. If you already have pendant lighting in the kitchen or LED living room lighting elsewhere, coordinating those finishes creates visual flow.
Don’t overlook practical constraints either. Does the fixture allow you to change bulbs easily, or will you be balancing on a stepladder every time something burns out? Can you mount it with existing ceiling hardware, or will rough-in work be needed? These details matter when you’re actually living with your choice.
How to Select the Perfect Brightness Level
Brightness is measured in lumens, not wattage, which is simply energy draw. A rule of thumb: aim for 20 lumens per square foot in an entryway or foyer. For a 10 × 12 room (120 square feet), that’s roughly 2,400 lumens total.
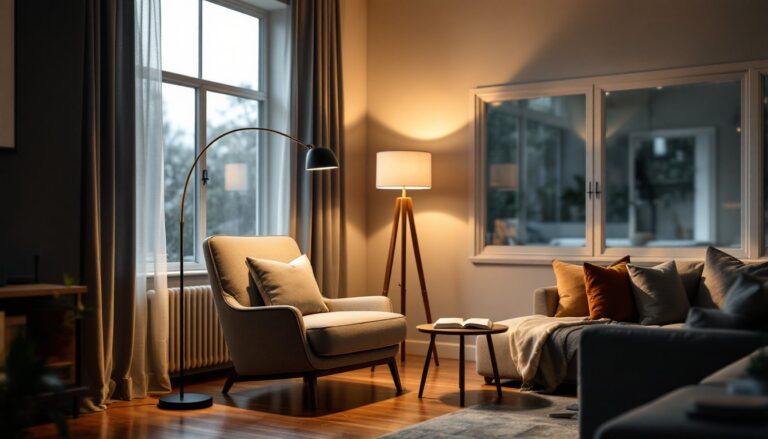
But here’s the catch: that single overhead fixture shouldn’t be your only light source. The best front rooms use layered lighting, ambient (overhead), task (near seating or work surfaces), and accent (highlighting architectural features). A combination approach lets you dial brightness up or down depending on the time of day and mood.
Color temperature also shifts how bright a light feels. Warm white (2,700K) feels cozier but slightly dimmer than cool white (4,000K–5,000K), which looks sharper and more clinical. Front rooms typically benefit from warm white or soft white in the 2,700–3,000K range. If you’re pairing with pendant track lighting or wall sconces, test bulbs side-by-side before committing to see if brightness and warmth match across fixtures.
LED bulbs have made dimming easier and more affordable. Choose dimmable LEDs (not all are) if you want flexibility: they’ll cost slightly more upfront but give you control over ambiance.
Installation Tips for DIY Ceiling Light Projects
Before you start, turn off power at the breaker box and test the fixture area with a voltage tester to confirm the circuit is dead. This isn’t optional, it’s non-negotiable safety.
If you’re replacing an existing fixture, you have a head start. The electrical box is already in place, and you’re likely working with the same circuit and wire gauge. Removing the old fixture is straightforward: disconnect the wires (hot, neutral, ground), unscrew the mounting bracket, and set it aside.
Installing the new fixture depends on type. For flush mounts and semi-flush options:
- Install the new mounting bracket to the electrical box using the provided hardware.
- Route the fixture’s wires through the canopy (the decorative cover that hides the box).
- Connect hot to hot (usually black), neutral to neutral (white), and ground to ground (bare copper or green), use wire nuts and wrap with electrical tape.
- Secure the canopy and test the switch before installing bulbs.
For heavier chandeliers or fixtures over 50 pounds, recessed lighting without attic access or remodeling work may require a retrofit brace. This hardware transfers weight to the joists rather than relying on the drywall alone, critical for safety.
Wear safety glasses and gloves when working around the electrical box. If you’re uncomfortable working inside the box, running new circuits, or if local codes require a licensed electrician (some do for ceiling work), hire a professional. Don’t shortcut this step, electrical mistakes are costly and dangerous.
Lighting Design Ideas to Transform Your Front Room
Great lighting design balances function with atmosphere. Start with a single statement piece, whether that’s a chandelier, adjustable pendant lighting, or stylish flush mount, then layer in secondary light sources.
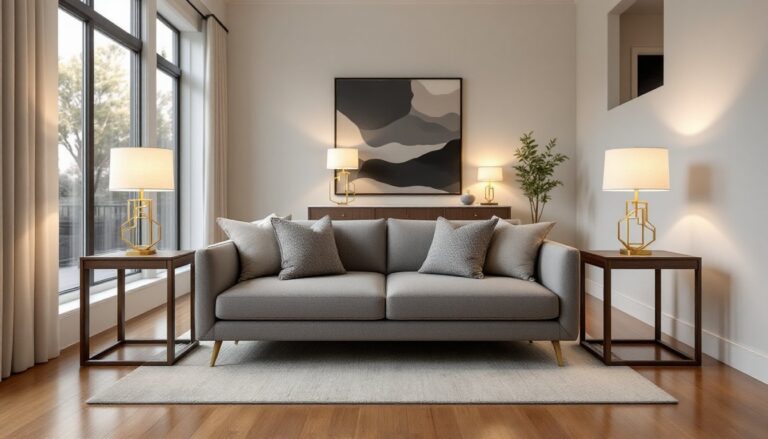
A common mistake is relying entirely on overhead ceiling fixtures. Add a floor lamp in a corner, wall sconces flanking a console table, or accent lighting behind floating shelves. This combination lets you shift the mood: bright and functional during the day, softer and more intimate in the evening.
Consider your front room’s purpose. If it’s a formal entryway, a bit of drama works (larger fixture, richer finishes). If it doubles as a sitting area, softer ambient light paired with task lighting near seating prevents eye strain. The goal is avoiding that harsh, interrogation-room feel that single overhead lights often create.
Color and finish matter too. Matte black and brushed brass finishes are on-trend but work best in spaces with similar metal tones elsewhere (hardware, fixtures, appliances). If your front room feeds into a kitchen with stainless steel, coordinate finishes for visual coherence. Resources like The Spruce offer inspiration galleries if you’re searching for a style direction.
Test your final setup in different lighting conditions: midday natural light, evening artificial light, and dimmed moods if applicable. You’re aiming for a setup that doesn’t fight your natural light but complements it.