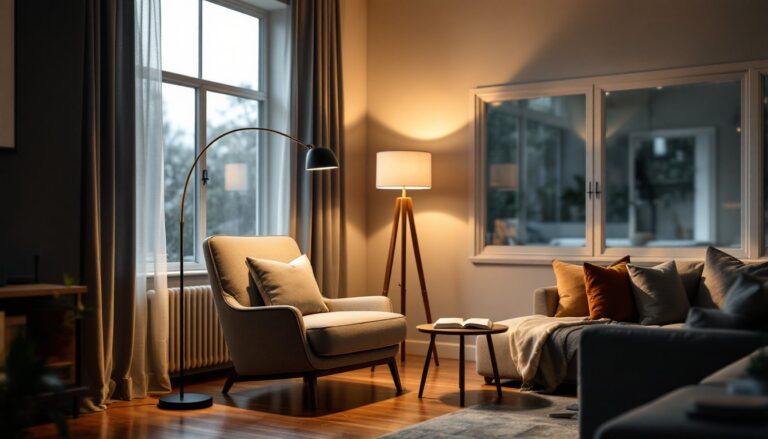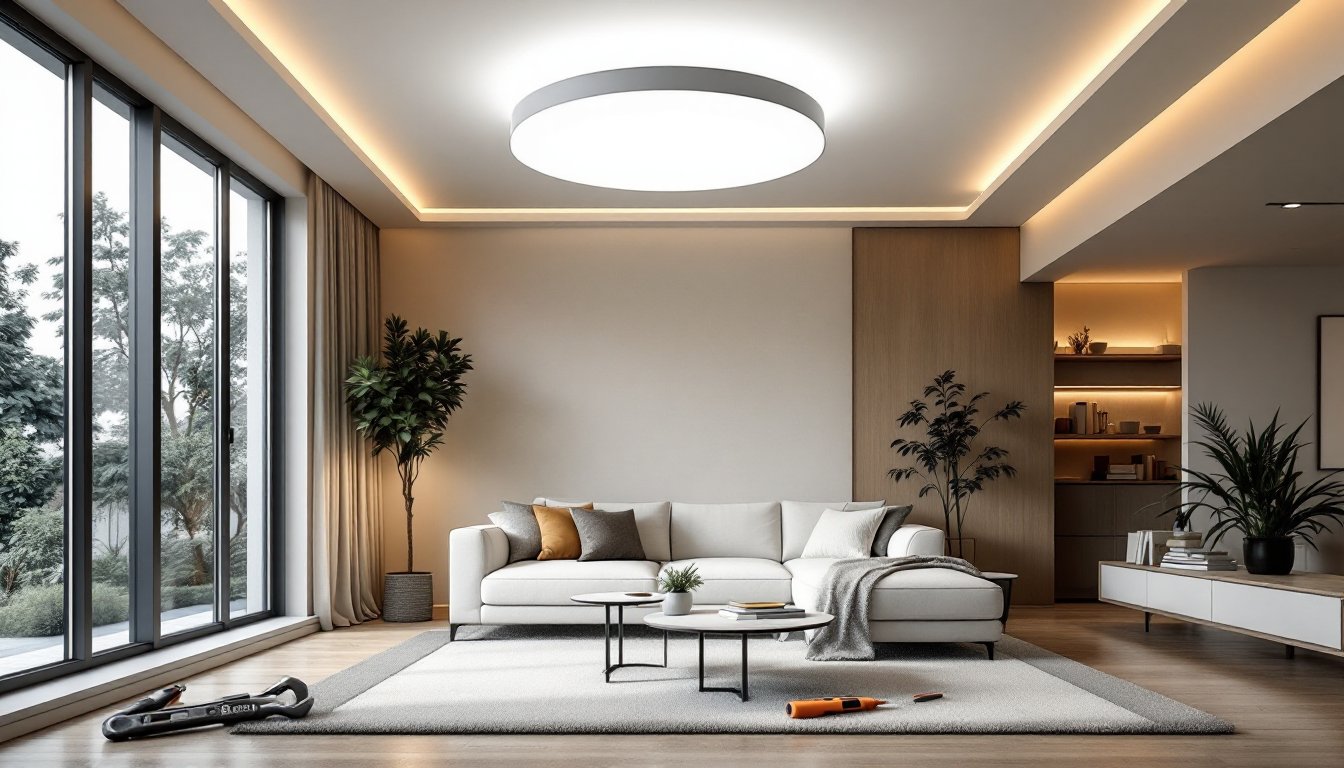
The right ceiling lamp transforms a living room from drab to dynamic. It’s not just about brightness, it’s about setting mood, defining the space, and making your room feel intentional. Whether you’re refreshing a dated fixture or tackling a complete lighting overhaul, choosing and installing the right living room lamp ceiling solution can seem daunting. This guide walks you through exactly what you need to know, from understanding your space’s needs to hanging a fixture yourself. By the end, you’ll have the confidence to pick a ceiling lamp that works hard and looks good doing it.
Table of Contents
ToggleKey Takeaways
- A living room lamp ceiling fixture should be chosen based on room dimensions using the rule: add length and width in feet, then convert to inches for the ideal fixture diameter.
- Ceiling height determines the best fixture type—rooms under 8 feet need flush mounts, 8–10 feet suit pendants or semi-flush designs, and rooms over 10 feet are ideal for chandeliers.
- Dimmable fixtures with warm white (2700K) lighting create cozy ambiance, while cool white (4000K+) energizes the space and works best with 1500–3000 lumens for standard living rooms.
- DIY installation requires turning off power at the breaker, confirming with a voltage tester, and matching wire gauges carefully—fixtures over 50 pounds must mount directly to ceiling joists for safety.
- Pendant lights and chandeliers need secure stem and chain support independent of drywall anchors, and new fixtures should acclimate for 30 minutes indoors before installation to prevent condensation.
Why Ceiling Lamps Matter for Living Room Lighting
Your living room ceiling lamp is the workhorse of your lighting scheme. It anchors the space, sets the overall brightness, and influences traffic flow and how people perceive the room’s size and mood. A well-chosen fixture doesn’t just illuminate, it becomes part of your décor statement.
Ceiling lamps distribute light differently than floor or table lamps. They cast light from above, which can make a space feel more open and connected. The key is matching the fixture’s style and brightness to your room’s proportions and purpose. A cramped living room needs a slim, unobtrusive fixture: a large, high-ceilinged room can carry bolder designs.
Type of light matters too. Warm white (2700K) feels cozy and intimate: cool white (4000K+) energizes the space. Understanding these basics upfront saves you from buyer’s remorse and installation mistakes.
Types of Living Room Ceiling Lamps to Consider
Flush Mounts and Semi-Flush Designs
Flush mount fixtures sit tight against the ceiling, perfect for rooms with lower ceilings (under 8 feet) or tight clearance. They’re compact, relatively affordable, and come in countless styles from minimalist to ornate. Semi-flush mounts hang 4 to 12 inches below the ceiling, offering a bit more visual weight and breathing room without eating up headspace.
These are ideal for living rooms where you want a clean, integrated look. Install one and you’ve got even, ambient light without a statement piece. They’re also the easiest ceiling fixture type for DIY installation because the electrical box hangs right from the ceiling joist.
Pendant Lights and Chandeliers
Pendant lights dangle lower, typically 12 to 20 inches from the ceiling, and create focused pools of light. Single pendants work well over reading corners or as accent pieces. Clusters of 3–5 smaller pendants can anchor a larger seating area and add visual interest.
Chandeliers are larger, multi-bulb fixtures that make a statement. They’re excellent in high-ceilinged rooms (9 feet or taller) where they add elegance and presence. A chandelier in a standard 8-foot room risks feeling cramped and institutional. Pendants and chandeliers require slightly more electrical planning because they hang from a ceiling-mounted stem, but the DIY installation process is nearly identical to flush mounts. The key difference: you’ll need more support if the fixture is heavy (anything over 50 pounds should be mounted directly to a ceiling joist, not drywall anchors alone).
How to Choose the Right Ceiling Lamp for Your Space
Start with your room’s dimensions. A useful rule of thumb: add the room’s length and width (in feet) and convert to inches for fixture diameter. A 12×14 living room (26 feet combined) suggests a fixture around 26 inches wide. This prevents the lamp from looking too small or dominating the space.
Next, consider ceiling height. Rooms under 8 feet need slim, low-profile designs. Rooms 8–10 feet can handle standard pendants or semi-flush mounts. Rooms over 10 feet are chandeliers’ sweet spot. For standard 8-foot ceilings, overhead lighting is the backbone of any living room and should complement, not compete with, the architecture.
Color temperature and brightness matter. Living rooms typically benefit from dimmable fixtures (a feature worth the small cost premium). This lets you adjust mood from bright morning reading to softer evening relaxation. Aim for 1500–3000 lumens in a standard 14×16 room: LED living room lighting offers flexibility with adjustable color and brightness at lower wattage.
Style should echo the room’s vibe, transitional fixtures work almost anywhere, while modern geometric designs or vintage brass chains carry stronger stylistic weight. Test finishes against your walls and trim in natural light before buying. What looks perfect on a store’s white walls might clash with your forest green accent wall.
Installation Essentials for DIY Homeowners
Before you begin: Turn off power at the breaker and test the switch with a non-contact voltage tester to confirm power is off. Wear safety glasses and gloves. If the fixture weighs over 50 pounds or your electrical box isn’t rated for the load, call an electrician, drywall alone won’t hold it.
What you’ll need:
- Voltage tester (non-contact)
- Adjustable wrench or socket set
- Wire nuts and electrical tape (usually included with fixture)
- Mounting hardware (check the fixture kit)
- Ladder or step stool
- Caulk gun and paintable caulk (for filling old mounting holes)
The process (standard flush or semi-flush):
- Turn off power at the breaker and confirm with the voltage tester.
- Remove the old fixture by unscrewing the mounting bolts and disconnecting the wires (typically black to black, white to white, bare copper to ground screw).
- Check that the new fixture’s electrical box matches the old one’s location. If it’s significantly different, you may need to install a new box (a more involved task requiring joist access).
- Attach the new box’s mounting bracket and tighten bolts securely.
- Connect wires using wire nuts: twist the exposed copper together and secure with a nut. Wrap with electrical tape for safety.
- Secure the fixture’s canopy (the decorative cover that hides the box) and install bulbs.
- Test at the switch before patching drywall or caulking.
For pendant lights or chandeliers, the process is identical except you’ll hang the stem and chain rather than press the fixture flush. Make sure the chain or rod is secure, don’t rely on drywall anchors for support. If installing in a ceiling without direct joist access, use a recessed lighting layout plan to map the best location before cutting holes.
Common DIY gotchas: Mismatched wire gauges cause overheating: stick with the wire gauge specified in the fixture manual. Loose wire connections spark fires, twist firmly and cap with wire nuts. Forgetting to acclimate new fixtures to room temperature before installation can cause condensation inside enclosed designs. Wait 30 minutes after bringing a cold fixture inside.
Conclusion
A thoughtfully chosen living room lamp ceiling fixture elevates the entire space. By matching your fixture’s size, style, and brightness to your room’s dimensions and mood, you’ve won half the battle. Installation itself is straightforward for most homeowners, a voltage tester, a clear head, and attention to electrical safety are your best tools. Whether you’re drawn to the simplicity of a flush mount, the elegance of a pendant, or the drama of a chandelier, your living room is ready for its moment. Take time to measure, test colors, and follow electrical codes, and you’ll enjoy years of good light and satisfied guests asking where you found that fixture.