
Good bathroom lighting isn’t a luxury, it’s a necessity. Whether you’re grooming, applying makeup, or shaving, poor vanity lighting turns a simple task into a frustrating squint-fest. The right bathroom vanity lighting combines function with aesthetics, flattering your face while ensuring adequate illumination for daily routines. In 2026, options range from sleek minimalist sconces to energy-efficient LED fixtures that reduce glare while cutting your electric bill. This guide walks you through choosing, installing, and maintaining bathroom lighting that actually works.
Table of Contents
ToggleKey Takeaways
- Bathroom vanity lighting requires a layered approach combining sconces flanking the mirror with overhead ambient light to eliminate shadows and provide flattering, even facial illumination.
- Choose a color temperature between 3000–4000K for bathroom vanity fixtures to balance warmth with clarity and accurately reveal true colors.
- Position wall-mounted sconces at eye level (60–66 inches from the floor) roughly 36–40 inches apart for optimal facial coverage and minimal shadow casting.
- LED bulbs rated for damp locations last 15–25 years, use 80% less energy than incandescent equivalents, and should always be dimmer-compatible for smooth brightness control.
- Proper installation requires mounting on wall studs or heavy-duty anchors, secure wire connections with wire nuts, and verification of power shutdown before any work begins.
Why Bathroom Vanity Lighting Matters for Function and Style
Bathroom vanity lighting serves two critical roles: it illuminates your face for tasks and sets the room’s mood. Poor lighting casts shadows under your eyes, distorts colors, and makes you look tired even when you’re not. The best vanity setups use a combination of fixtures, typically sconces flanking the mirror and an overhead light, to eliminate shadows and provide even coverage.
Color temperature matters enormously. Warm light (2700K) feels cozy but can hide details: cool white light (4000K) mimics natural daylight and reveals true colors: daylight (5000K+) is ideal for makeup application but feels harsh if it’s the only light source. Most pros recommend 3000–4000K for bathrooms, balancing warmth with clarity. Dimmer switches add flexibility, letting you adjust brightness for morning energy or nighttime wind-down.
Beyond functionality, vanity lighting impacts your entire bathroom’s visual weight. Large statement fixtures draw the eye and anchor the space: understated designs recede and make small bathrooms feel bigger. Fixture placement, finish (brushed nickel, matte black, brass), and glass styles all contribute to your overall design. Investing in proper vanity lighting pays dividends every time you step into that bathroom.
Types of Vanity Lighting Fixtures to Consider
Sconces and Wall-Mounted Lights
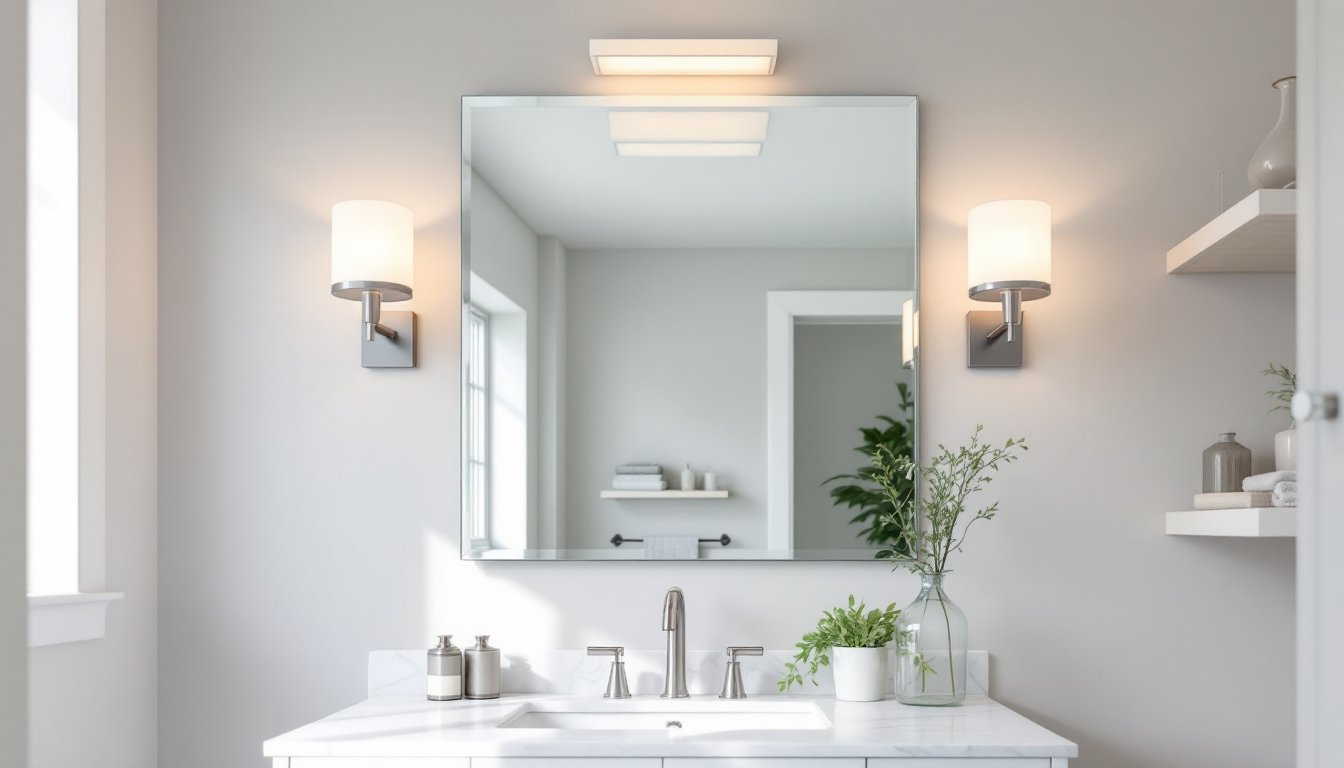
Sconces are the workhorse of vanity lighting. Mounted on either side of the mirror, they deliver direct light across your face, minimizing shadows and hot spots. Single sconces work in narrow bathrooms, but pairs are standard, positioned roughly 36–40 inches apart and at eye level (about 60–66 inches from the floor) for optimal facial illumination.
Sconce styles range from industrial (exposed bulbs, metal cages) to decorative (frosted glass, artistic metalwork). Vanity sconces typically hold 1–3 bulbs, each consuming 40–100 watts. LED equivalents (8–15 watts) deliver comparable brightness with 80% less energy use. A key advantage: sconces won’t work if you skimp on surface prep. The wall behind and around them must be smooth, clean, and properly patched: uneven surfaces make fixtures tilt or gaps appear.
Wall-mounted light bars are a modern alternative, stretching horizontally above the mirror. These deliver broad, even light across the entire mirror width, reducing shadows even more than pairs of sconces. They work especially well in dual-sink vanities where a single overhead fixture would create uneven coverage.
Overhead and Ceiling-Based Options
Ceiling-mounted fixtures, recessed cans, flush mounts, or semi-flush pendants, provide ambient light and fill gaps left by sconces. Recessed lights (typically 5–6 inches in diameter) sit flush with the ceiling, creating a clean look. They’re ideal for vaulted or dropped ceilings but require rough-in work during framing: retrofitting them into finished ceilings is messy and expensive.
Flush-mount and semi-flush fixtures hang 4–12 inches below the ceiling, working better in remodels. Choose fixtures with diffusers (frosted or white glass) to soften light and reduce harsh shadows. A common mistake: relying solely on overhead lighting. Without sconces, it casts shadows under the eyes and cheekbones, aging and unflattering.
The ideal setup combines 2–3 light sources: sconces or a light bar flanking the mirror, plus overhead ambient light. If you’re designing a new bathroom, work with an electrician to plan wiring runs before drywall goes up. Retrofitting requires cutting holes, fishing wire, and patching, doable but labor-intensive. Professional bathroom remodelers often recommend this layered approach to maximize both function and design flexibility.
Design Tips for Flattering Bathroom Lighting
Start with color temperature. Most bathrooms benefit from a warm white (3000K) or neutral white (4000K) bulb. Avoid cool daylight if it’s the only source, it emphasizes flaws and reads clinical. If you’re choosing between options, test samples in your space at different times of day.
Bulb brightness matters too. For sconces, choose 60–100-watt equivalent LEDs (roughly 800–1600 lumens total across both fixtures). Too dim and you’ll strain: too bright and glare washes out your reflection. A dimmer lets you dial in the perfect brightness. Many vanity light bars come with integrated dimmers, which simplifies installation.
Position lights at eye level or slightly above when flanking the mirror. If they’re too low, they cast shadows upward: too high, and they create unflattering patterns across your face. Roughly 36–40 inches between sconces, with each fixture about 12 inches from the mirror’s edge, works for most standard vanities.
Mirror finish and size amplify lighting effects. Frameless or lightly framed mirrors reflect light evenly, while ornate frames cast patterns. A larger mirror (36+ inches wide) spreads light across a bigger surface, reducing shadows. If your bathroom features vintage or contemporary dining room lighting styles, stick with sconces and finishes that echo that aesthetic, brushed nickel for modern, oil-rubbed bronze for traditional, polished brass for transitional. Consistency across fixtures creates a cohesive look.
Don’t overlook the wall color. Light neutrals (white, soft gray, pale blue) bounce light: dark walls absorb it. If you’re repainting, lighter finishes make vanity lighting work harder and feel brighter.
Installation and Maintenance Best Practices
Preparation and Safety
Before touching any fixtures, turn off power at the breaker and verify it’s off using a non-contact voltage tester, not optional, non-negotiable. Wear safety glasses in case debris falls during removal or installation. If you’re unsure about wiring, hire a licensed electrician. Bathroom circuits are often shared and code-sensitive: improper work can overload circuits or violate code.
Most vanity sconce installations involve mounting a bracket to the wall stud or using heavy-duty anchors (toggle bolts) if studs aren’t available. Mark mounting holes with a pencil, then drill pilot holes, this prevents misalignment and cracking. Use a stud finder to locate framing: mounting on drywall alone risks the fixture sagging or falling.
Wiring and Mount
After the bracket is secure, connect wires: black to black (hot), white to white (neutral), and copper/bare to ground. Secure connections with wire nuts, wrapping them with electrical tape. This isn’t where you improvise, poor connections overheat and cause fires.
Many vanity sconces mount with a decorative trim ring that hides the bracket and electrical outlet. Tighten all screws snugly but don’t overtighten: you can crack ceramic or break threads.
Bulb and Dimmer Considerations
Use LED bulbs rated for damp locations in bathrooms, moisture shortens incandescent and standard LED lifespans. Look for bulbs labeled “wet” or “damp.” If installing a dimmer, confirm the bulbs are dimmable: not all LEDs dim smoothly, and incompatible combos flicker or buzz. Dimmers designed for bathrooms have moisture-resistant covers.
Routine Maintenance
Dust fixtures monthly with a dry cloth. For stubborn grime, use a damp cloth, but never spray cleaners directly on electrical components. If a fixture develops loose connections (flickering bulbs, intermittent power), tighten the mounting hardware or call an electrician, don’t ignore it.
LED bulbs last 15–25 years, so replacements are rare. But, bathroom humidity can corrode sockets or contacts. If a bulb won’t seat properly or a fixture won’t power on after checking the breaker, moisture damage may be the culprit. At that point, replacing the fixture is safer than repairing.
Conclusion
Bathroom vanity lighting is an investment that pays off daily. By combining sconces or light bars with overhead fixtures, choosing the right color temperature, and positioning lights at eye level, you create a flattering, functional space. Proper installation, stud-mounted brackets, secure wiring, damp-rated bulbs, ensures safety and longevity. Start with a clear plan, don’t skip surface prep, and when in doubt, call a licensed electrician. Your morning routine and your reflection will thank you.


