
Mini pendant lighting has become a go-to solution for homeowners who want focused task lighting without the bulk of traditional fixtures. These compact, versatile lights work beautifully in kitchens, bathrooms, entryways, and even bedrooms. They’re available in dozens of styles, from industrial metal to minimalist glass, so they fit nearly any décor. Whether you’re updating a single corner or planning a whole-home refresh, mini pendants deliver both function and personality. This guide walks you through the best uses, installation tips, and style considerations to help you make smart lighting decisions for your space.
Table of Contents
ToggleKey Takeaways
- Mini pendant lighting offers the perfect balance between task and ambient lighting, with fixtures typically 4 to 8 inches in diameter that work beautifully in kitchens, entryways, and bathrooms without the bulk of traditional fixtures.
- LED-compatible mini pendants use 75% less power than incandescent bulbs and can save you pennies per month to operate, making them an energy-efficient choice for modern homes.
- Proper spacing and height are critical—kitchen islands 36 to 48 inches wide need 2 to 3 pendants spaced 24 to 30 inches apart, hung 12 to 18 inches above the countertop for optimal task lighting.
- Choose finishes and styles that match existing hardware and décor elements like cabinet knobs, faucets, and light switches for visual cohesion throughout your space.
- DIY replacement of existing mini pendant fixtures is manageable for most homeowners, but new wiring installations should be handled by a licensed electrician to ensure compliance with building codes and safety standards.
What Makes Mini Pendant Lighting Perfect for Modern Homes
Mini pendants, typically ranging from 4 to 8 inches in diameter, offer a sweet spot between ambient and task lighting. They hang from the ceiling on a cord, chain, or stem, so they’re easier to install than recessed lighting and less permanent than a large chandelier. Because they’re compact, you can cluster three or more in a row without overwhelming a space.
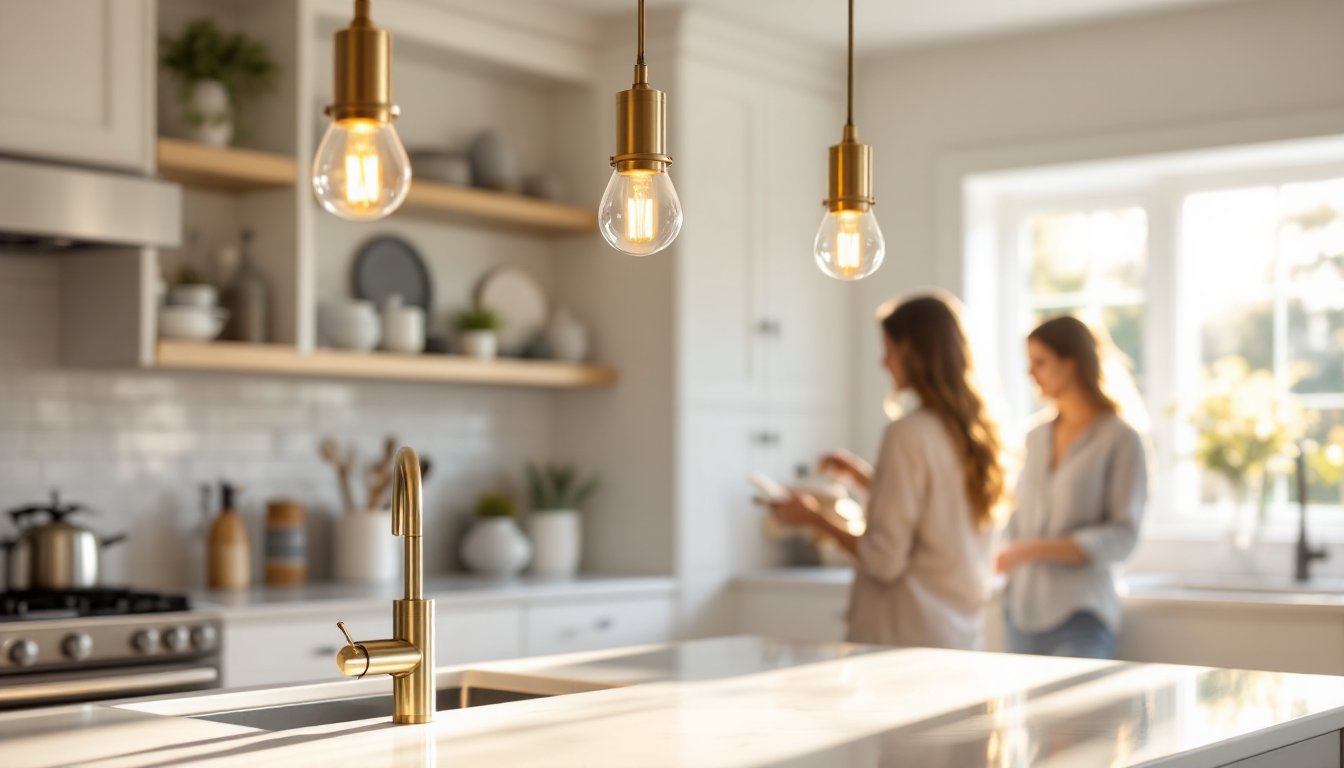
Their flexibility makes them ideal for modern design. A brushed brass mini pendant reads contemporary and minimalist, while a colored glass version leans mid-century modern or industrial. Retailers like MyDomaine showcase design trends where mini pendants anchor kitchen islands and dining tables because they direct light exactly where you need it.
Mini pendants also save energy. Most come pre-wired for LED bulbs, which use 75% less power than incandescent bulbs and last 25,000+ hours. A 60-watt equivalent LED bulb typically runs just 9 watts and costs pennies per month to operate. For homeowners balancing style with utility costs, that’s a real win.
Best Locations for Installing Mini Pendant Lights
Kitchen Islands and Breakfast Bars
Kitchen islands are the most popular spot for mini pendants. A typical island 36 to 48 inches wide looks best with two to three pendants spaced 24 to 30 inches apart. Hang them 12 to 18 inches above the countertop so light hits the work surface without blinding anyone seated at a bar. If your island is narrow (under 30 inches), one centered pendant usually suffices.
Breakfast bars attached to the kitchen work similarly. The key is proportional spacing, if pendants are too far apart, you get dark spots: too close, and they look cramped. Measure twice before drilling: a stud finder helps you locate joists if you need to anchor into them for heavier fixtures.
Entryways and Hallways
Entryways benefit from a single or double mini pendant hung 6.5 to 7 feet high to avoid bumping heads. A hallway 4 feet wide looks balanced with pendants spaced 6 to 8 feet apart down its length. These spaces don’t need bright task lighting, so dimmable pendants, paired with a dimmer switch, let you adjust mood throughout the day.
Hallway pendant height matters for safety. Too low and you’ve got a concussion risk: too high and the light spreads too widely to be useful. Consult Architectural Digest for inspiration on entryway lighting that makes a strong first impression while staying practical.
Choosing the Right Style and Finish for Your Space
Style choice depends on your existing décor and personal preference. Industrial finishes (matte black, raw iron, exposed bulb) pair well with open shelving and stainless steel appliances. Mid-century modern designs feature tapered silhouettes, often in brass or teak wood. Coastal and farmhouse styles use weathered wood or frosted glass, while minimalist designs keep shapes simple and colors neutral.
Finish matters just as much as shape. Brushed gold creates warmth: polished chrome feels contemporary: matte black grounds a busy room. If you’re unsure, stick to finishes that match existing hardware, cabinet knobs, faucets, or light switches, for visual cohesion.
Size your pendant proportionally to the space and its purpose. Over a large 5-foot island, a 7-inch pendant works: over a narrow bar, 5 inches is better. Oversized pendants can monopolize visual space in small rooms and look awkward if they’re smaller than surrounding fixtures. Contemporary Dining Room Lighting showcases how pendant proportion transforms a room’s balance.
DIY Installation Tips for Homeowners
Most mini pendants hang from a ceiling box or canopy attached to electrical wiring. Before you start, turn off power at the breaker and test the circuit with a voltage tester to confirm it’s dead. Wear safety glasses: you’re working near your face.
If you’re replacing an existing fixture, the hardest part’s usually behind you, the wiring is already there. For new installations, you’ll need to route wiring through the ceiling, which may require cutting into drywall or negotiating existing joists. This is where hiring a licensed electrician makes sense. Local building codes, governed by the National Electrical Code (NEC), require most hardwired lighting to meet specific standards for wire gauge, box type, and grounding.
Steps for replacing an existing fixture:
- Turn off power and test the circuit.
- Remove the old fixture and untwist the wire nuts holding the old wiring.
- Install the new ceiling canopy bracket to the existing electrical box, aligning it properly.
- Connect the new fixture’s wires: twist black to black (hot), white to white (neutral), and secure the green or bare copper wire (ground) with the grounding screw.
- Tuck wires into the box and screw the canopy into place.
- Hang the cord or chain, then attach the shade or globe.
- Install the bulb, turn power back on, and test.
For new installations, run 14-gauge wire for standard outlets and pendants (15-amp circuits) or 12-gauge for higher-load circuits (20-amp). If you’re uncomfortable with wiring, Instructables has photo-rich tutorials, but a licensed electrician ensures code compliance and safety, a worthwhile investment for your peace of mind.
Common mistakes: hanging pendants too high or low, spacing them unevenly, undersizing wire, or forgetting to secure the fixture to the electrical box (causing dangerous sagging). Take your time measuring. Use a laser level or chalk line to mark positions before drilling.
Conclusion
Mini pendant lighting transforms everyday spaces with focused light and modern style. Choose locations where you need task lighting, islands, bars, entryways, and select finishes that harmonize with existing décor. For straightforward replacements, most homeowners can handle installation: for new circuits or wiring, bring in a licensed electrician. Done right, mini pendants brighten your home and boost its resale appeal without breaking your budget.


