
A dark deck at night is wasted space. Whether you’re hosting an evening cookout or just want to safely navigate the stairs after sunset, LED deck lighting changes the game. Unlike older halogen or incandescent options, modern LEDs use 75% less energy, last for decades, and come in endless styles, from sleek modern recessed lights to warm ambient post caps. This guide walks you through the why, what, and how of installing LED deck lights, so you can transform your outdoor space without very costly or losing a weekend to complicated wiring.
Table of Contents
ToggleKey Takeaways
- LED deck lighting uses 75% less energy than halogen or incandescent options and lasts 25,000–50,000+ hours, delivering long-term cost savings and reliability.
- Low-voltage LED deck lighting systems are the most DIY-friendly option, requiring only a transformer, wire runs under the deck, and no permits or licensed electrician, making retrofit projects affordable and manageable.
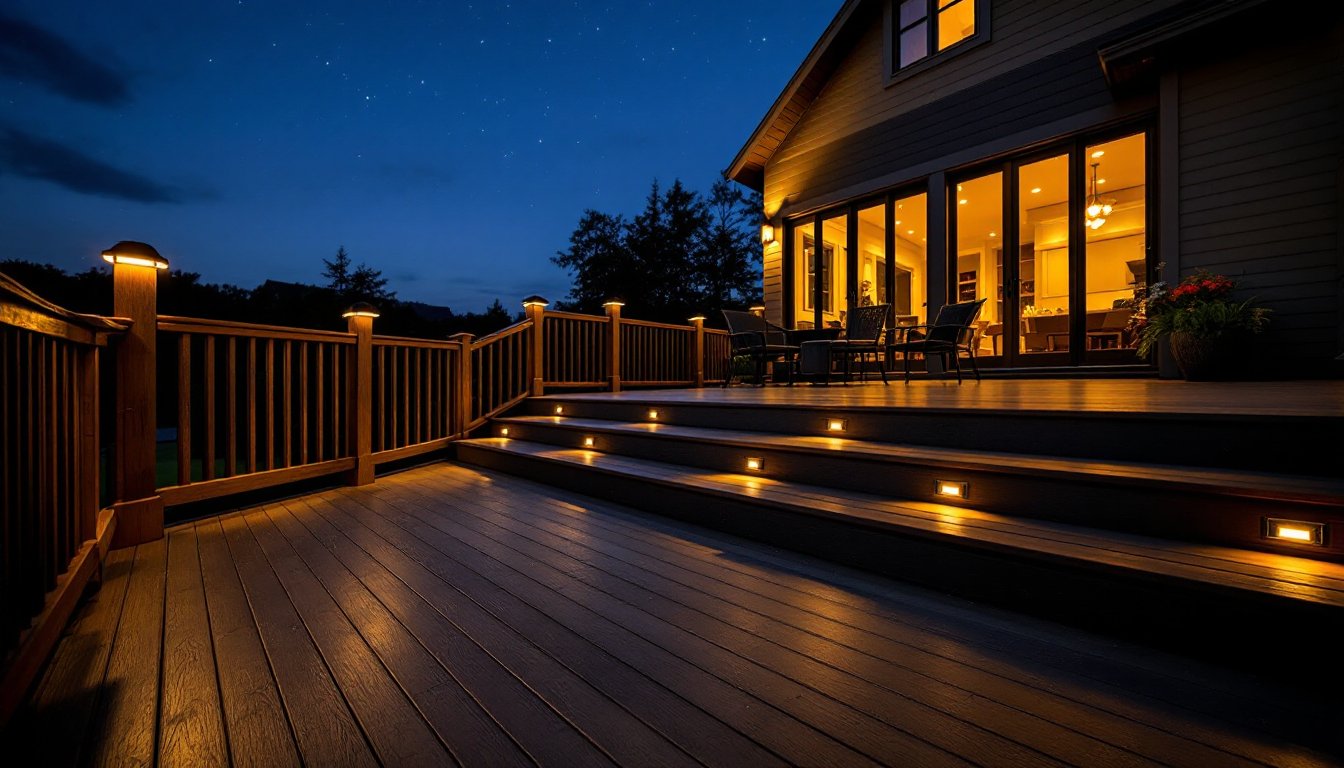
- Proper spacing of LED deck lights is critical for safety: install step lights every 12–18 inches on stairs, edge lights every 4–6 feet, and ambiance lights every 8–12 feet apart.
- Post caps and railing lights offer flexible retrofit options, with solar post caps costing $20–$60 and requiring zero wiring, while hardwired systems provide consistent brightness but demand professional installation.
- Weatherproofing around LED deck light fixtures with caulk and sealant is essential to prevent water infiltration, which can damage connections and cause wood rot.
- Choose your LED deck lighting system based on your deck’s existing structure: solar or battery options for existing decks without underside access, low-voltage for new builds or accessible undersides, and hardwired systems only with a licensed electrician.
Why LED Deck Lighting Transforms Your Outdoor Space
LED deck lighting does more than illuminate, it shapes how you use your deck. Properly lit stairs and edges prevent trips and falls, especially important if you entertain guests or have kids and pets. Beyond safety, the right lighting sets mood and extends your outdoor living season deep into evening and shoulder months.
LEDs outperform older technologies on every front. They run cooler, so they won’t scorch adjacent wood or create fire hazards. They’re available in warm whites (2700K–3000K) for cozy ambiance or neutral whites (4000K–5000K) for task lighting around grills or workspaces. Most last 25,000–50,000+ hours, that’s roughly 15–20 years of nightly use, compared to 1,000–2,000 hours for incandescent bulbs.
Cost matters too. LED fixtures cost more upfront, but lower operating costs and replacement frequency pay dividends. A solar LED post cap might cost $30–$50 per unit and never draw a penny from your electric bill. Hardwired deck lights cost $15–$40 per fixture but run on dedicated circuits or low-voltage systems, keeping energy use minimal. Whether you’re building a new deck or refreshing an existing one, LED deck lighting gives you flexible, long-term value.
Types of LED Deck Lights for Modern Patios
Recessed and In-Deck Options
Recessed deck lights sit flush with the deck surface, creating a clean, modern look. These typically mount into the joist frame before decking is installed, or retrofit into existing decks by cutting openings and running wiring underneath. Most use standard 3-inch or 4-inch trim rings and house either LED modules or LED-ready fixtures that accept standard bulbs.
In-deck lights come in two main flavors: hardwired and low-voltage. Hardwired systems run on standard 120V household current and need a licensed electrician in most jurisdictions (code requirement). They’re powerful and don’t require battery replacement, but installation means running conduit, installing GFCI-protected circuits, and getting inspection sign-off, plan on $500–$2000+ for labor and materials depending on deck size and wire runs.
Low-voltage systems (typically 12V or 24V) are far more DIY-friendly. Power comes from a transformer that plugs into a nearby outlet, and low-voltage wire runs under the deck to each light. No permit needed in most areas, no licensed electrician required. The trade-off: lower brightness (better for ambiance than task lighting) and wire runs that need planning to avoid damage. Many homeowners prefer low-voltage for retrofits. Cost runs $200–$600 for a complete kit covering 10–15 fixtures.
According to reviews of the best LED deck lights, homeowners increasingly choose recessed systems for finished aesthetics and reliability. Solar recessed options exist but often lack brightness and consistency, fine for accent lighting, weak for stairs or high-traffic zones.
Post Cap and Railing Lights
Post caps are the easiest retrofit. They slip over the top of 4×4 or 6×6 posts and contain LED modules inside. Most are solar-powered (no wiring), battery-operated, or hardwired. Solar post caps cost $20–$60 each, charge by day, and glow at dusk, perfect for accent lighting but inconsistent in cloudy climates. Battery-operated caps run $15–$40 and last 50–100 hours per charge on motion-sensor modes: replace batteries annually or use rechargeable types. Hardwired post caps integrate with deck circuits and provide reliable, consistent brightness.
Railing lights mount to balusters or the top rail itself. Recessed versions sit flush: surface-mounted sconces add architectural flair. Railing lights work well paired with recessed deck lights, the rails glow subtly while deck surfaces stay bright for safety. A 12–16 foot railing run typically needs 4–6 lights spaced evenly.
Choosing between them depends on your deck layout, budget, and ambition. Post caps are zero-commitment and fast to install. Railing lights require measuring, drilling, and wiring but deliver cohesive design. Many elite decks and patios layer multiple types: recessed step lights, railing accents, and solar post caps for layered, inviting nighttime scenes.
Installation Guide for Beginners
Planning Your Layout
Before buying a single light, measure your deck and sketch a layout. Mark stairs, edges, corners, and high-traffic paths, these are your priority zones. Step lighting should illuminate each tread without being blinding: aim for spacing every 12–18 inches on stairs. Along open edges, space lights every 4–6 feet. For ambiance zones (seating areas, railings), go wider, 8–12 feet apart.
Determine power source: solar, low-voltage, or hardwired. If you’re adding to an existing deck without easy access below, solar or battery options save you the headache of running wire. If you’re building new or willing to access the underside, low-voltage is your sweet spot for DIY reliability and cost.
Low-Voltage Installation (Most DIY-Friendly)
Materials needed:
- 12V LED deck light kit (includes transformer, low-voltage wire, fixtures)
- Wire connectors or terminal blocks (usually included)
- Exterior-grade wire staples or clips
- Safety gear: work gloves, safety glasses, voltage tester
Steps:
-
Mount the transformer. Place it near a GFCI-protected outdoor outlet within 10–20 feet of your furthest light. Secure it with outdoor-rated fasteners: keep it dry and sheltered.
-
Plan wire runs. Low-voltage wire must run underneath the deck where it’s protected from foot traffic, UV, and moisture. Measure and note the path to each light location.
-
Run wire under the deck. Use a fish tape or push wire through conduit if rodent risk is high. Staple or clip it to joists every 12–18 inches, keeping it away from pipes, ducts, and nails. Avoid pinching or kinking.
-
Cut openings. Mark light locations on the deck surface and drill pilot holes. Use a 3-inch or 4-inch hole saw for recessed fixtures. Start holes from below if possible to avoid splintering the top.
-
Connect fixtures. Strip 1/2 inch of insulation from wire ends, insert into terminal blocks or push connectors, and tighten screws firmly. Test each fixture with power on before installation.
-
Secure lights. Recessed fixtures nestle into openings: secure with the trim ring and fasteners provided. For surface-mount lights, use exterior screws and sealant.
-
Seal and test. Apply exterior caulk around recessed light trims to prevent water entry. Turn on the transformer and verify all lights work. Adjust brightness if the kit includes a dimmer.
Solar and Hardwired Notes
Solar lights require zero wiring, install, charge in sun, done. Hardwired systems demand a licensed electrician and permit in nearly all jurisdictions. Running 120V circuits, installing GFCI protection, and ensuring proper grounding are code requirements: DIY mistakes here are serious. Hire this one out.
Regardless of type, always weatherproof your deck around light fixtures. Caulk, sealant, and flashing prevent water infiltration, which kills lights and rots framing. When designing deck layouts, consider lighting from the start, it’s far easier to route wire under a new deck than retrofit an old one.
Common Pitfalls
Wire gauge matters: 12-gauge wire for runs over 50 feet, 14-gauge for shorter spans. Too-thin wire causes voltage drop and dim lights. Don’t overload a single circuit, most 12V transformers max out around 200–300 watts: a typical LED fixture draws 2–5 watts, so you’ve got room, but check specs.
Avoid burying low-voltage wire directly in soil without conduit, moisture and rodents kill connections. Always test with a multimeter before and after installation. And don’t skip caulking: water is the enemy of all outdoor electrical work. Inspect connections annually, especially before winter, and replace corroded wire or loose terminals immediately. Following practical lighting guides and manufacturer specs keeps projects safe and lasting.
Conclusion
LED deck lighting is a high-return project for safety, usability, and curb appeal. Whether you go solar post caps for zero hassle, low-voltage recessed lights for clean aesthetics, or hardwired systems for maximum control, modern LEDs deliver reliability and style your deck deserves. Start with a solid plan, choose the right system for your comfort level, and don’t skip prep work or weatherproofing. Your evening deck time will transform overnight.


