
Good outdoor lighting transforms a backyard from forgettable to functional and beautiful. Whether you’re aiming to extend evening entertaining, boost security, or highlight architectural features, landscape lighting design doesn’t require a licensed electrician’s credentials, just thoughtful planning. This guide walks you through assessing your space, selecting the right fixtures, planning placement, and installing a system that looks polished without requiring rewiring your entire home. We’ll skip the Pinterest inspiration and focus on practical decisions that work for real yards with real budgets.
Table of Contents
ToggleKey Takeaways
- Start landscape lighting design by assessing your outdoor space at dusk, identifying problem areas, and sketching your yard to plan fixture placement strategically.
- Choose durable LED fixtures with stainless steel or marine-grade aluminum housings rated IP65 or IP67, and select 2700K–3000K warm white bulbs for residential landscapes.
- Layer your landscape lighting with ambient, task, and accent lighting to balance safety and aesthetics without overwhelming the space.
- Bury low-voltage cable in shallow conduit to protect wiring from damage, and use waterproof connectors sealed with silicone caulk for weather-resistant installations.
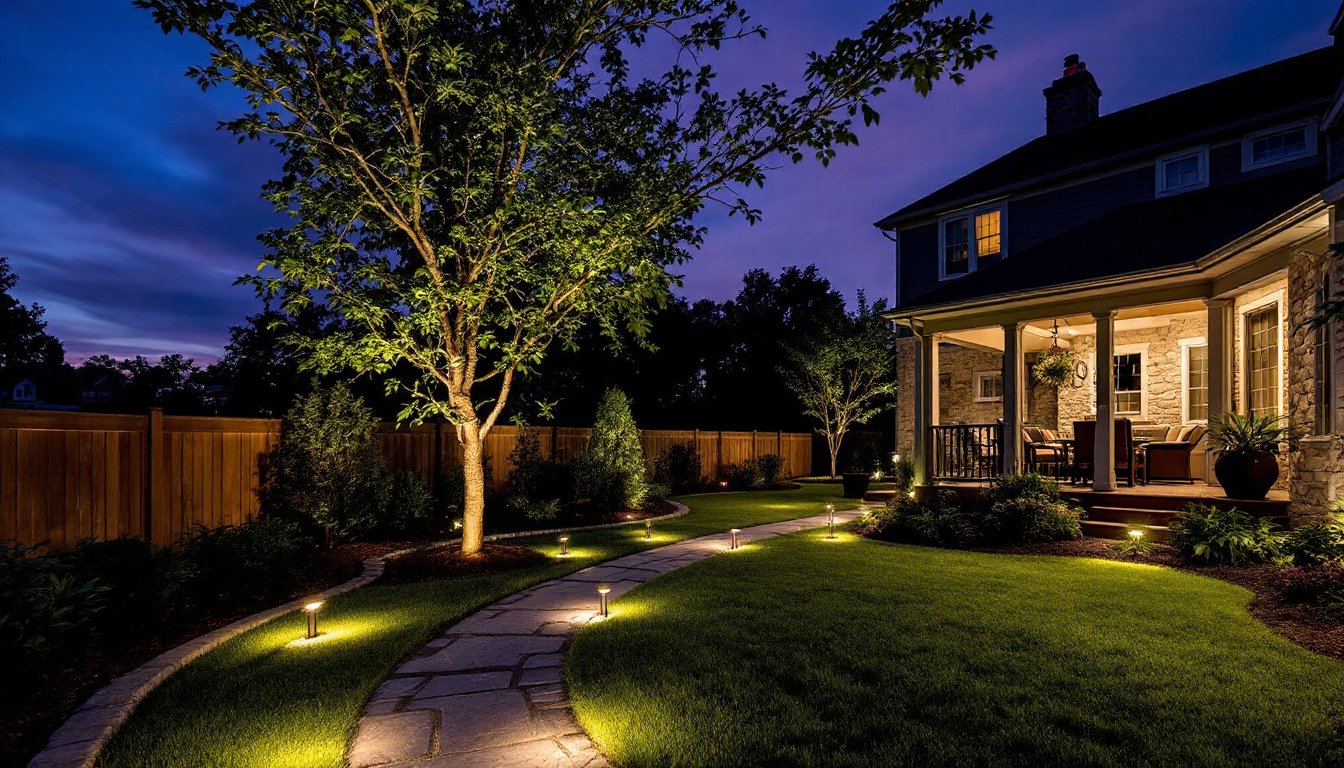
- Test your landscape lighting system at dusk for glare, dark spots, and shadow patterns before finalizing, and adjust fixture angles to avoid shining lights into seating areas.
- Hire a licensed electrician if adding a new outdoor circuit, as most jurisdictions require permits and inspection for electrical work beyond tapping existing outlets.
Assess Your Outdoor Space and Lighting Goals
Start by walking your property at dusk and after dark. Where do you move, park, and spend time? Where do existing shadows make navigation tricky? Take photos with your phone’s flashlight to visualize problem spots.
Next, decide what you’re lighting for. Are you prioritizing safety along pathways and driveway entrances? Highlighting landscape features, trees, water features, stonework? Creating ambient atmosphere for entertaining? Or boosting security by illuminating corners and entry points? Most homeowners blend these goals: safe, attractive, and secure.
Note elevation changes, tree placement, nearby structures, and existing electrical access. Sketch a rough overhead view of your yard, marking these features and the areas you want lit. This doesn’t need to be to scale: it’s just a reference to prevent mistakes during layout. Check whether your home has low-voltage outdoor circuits already installed, if so, you may be able to tap into them. If not, you’ll either run new wiring (requires trenching or conduit), use battery-powered fixtures, or install solar lights.
Measure distances from power sources (outdoor outlets, downspout conduits, basement access) to your planned fixture locations. The farther the run, the more wire you’ll need and the bigger the power draw considerations. This assessment phase takes 30 minutes but saves hours of frustration later.
Choose the Right Types of Landscape Lights
Landscape lighting falls into several categories, each suited to different tasks. Uplighting and downlighting are directional. Uplights aim upward to silhouette trees or accent stonework: downlights come from above to illuminate pathways or sitting areas. Path lights sit 12–18 inches tall and mark edges and transitions. Spotlights focus a beam on specific features like flagpoles or specimen plants. String lights and overhead fixtures create ambient glow for entertaining areas.
When selecting fixtures, consider material durability. Stainless steel and marine-grade aluminum withstand weather better than painted finishes, which corrode and chip. Resin and high-quality polymer housings last longer than cheap plastic that becomes brittle in UV light. Look for IP65 or IP67 ratings, which indicate water and dust protection suitable for outdoor use.
Bulb choice matters too. LED fixtures dominate now for good reason: they run cooler, last 25,000–50,000 hours (versus 2,000 for incandescent), and cost far less to operate. Color temperature affects mood, 2700K (warm white) feels cozy and inviting: 4000K (neutral white) reads as more professional: 5000K (cool white) feels harsh outdoors. For most residential landscapes, stick with 2700K or 3000K.
Path and Accent Lighting Options
Path lights guide foot traffic safely and define garden edges. They’re typically 12–18 inches tall with a warm glow that spreads 8–12 feet. Stake them along walkways, driveway edges, and deck perimeters. They’re usually low-voltage (12V), run on buried cable, and cost $15–$50 each depending on material and style.
Accent lights highlight specific features: a flowering tree backlit by an uplight looks dramatic: a rock formation washed with grazing light shows texture: architectural details like shutters pop when side-lit. Use these strategically, three well-placed accents beat ten mediocre uplights. Aim accent lights at 45-degree angles for natural-looking shadows. Solar path lights and battery-powered accent fixtures offer easy installation without trenching, though they’re dimmer and less reliable than hard-wired low-voltage systems.
Plan Your Lighting Layout and Placement
Lay out your fixtures on your sketch before purchasing anything. Group path lights in odd numbers (three, five, seven) along walks, it looks intentional. Space them 6–10 feet apart depending on coverage and brightness. Cluster accent lights around focal points: a specimen tree, water feature, or stone wall.
Layering is key. Layer 1 is ambient: general glow that lets you move safely (path lights, overhead fixtures). Layer 2 is task lighting for active areas (deck perimeter, cooking zones). Layer 3 is accent lighting for interest. A backyard with only task lighting feels cold: one with only accent looks pretty but unsafe. Balance all three.
Consider sightlines. Avoid pointing lights toward seating areas where they’ll shine in guests’ eyes. Lights aimed low and inward, toward features rather than outward toward neighbors, are more courteous. If you’re uncertain about fixture placement, rent or borrow a portable work light to test sight lines and shadow patterns before committing to runs.
Plan the cable runs from power source to lights, noting any obstacles (deck joists, fence lines, hardscape). Burying cable in shallow conduit costs more upfront but protects it from damage and looks neater than surface runs. If running wire across a deck, route it under railings or along edges where it’s less visible. Low-voltage cable can share a trench with irrigation lines, which saves digging. Verify you won’t hit existing utilities by contacting your local utility locating service (call 811 in the US) before trenching.
Select Energy-Efficient and Durable Fixtures
LED fixtures are the standard now, and for good reason. They draw 80% less power than halogen, produce minimal heat, and last decades. A typical 12V LED path light draws 0.5–1 amp: an uplighter might draw 2–3 amps. Total amperage matters because transformers (which step down household 120V to 12V for low-voltage systems) come in 300W, 600W, and 1200W sizes. Most residential setups use 600W, which runs about 50 amps at 12V, plenty for 15–20 fixtures.
Fixture quality correlates with price, but you don’t need the priciest option. Mid-range stainless steel or marine-grade aluminum fixtures ($30–$75 each) outlast cheap plastic ($10–$20) and resist corrosion. Brands like Kichler, Landscape Forms, and Path are reliable and widely available, but local lighting suppliers often carry equally durable options at better prices.
When buying, confirm the fixture is rated for direct burial (if you’re burying cable) and that gaskets are food-grade silicone, not rubber, which degrades faster. Ask whether lenses are acrylic or glass (glass is more durable) and whether the transformer is dimmable (adds flexibility for adjusting brightness seasonally). Check that fixture height and beam spread match your layout, a 12-inch path light won’t illuminate a 20-foot walkway adequately, and an uplighter with a 60-degree spread won’t wash a wide tree evenly.
Solar and battery-powered fixtures have improved, but they’re dimmer and less reliable than wired systems, especially in cloudy climates or shaded yards. Use them for supplemental accent lights or spots where running cable is impossible, not as your primary system.
Install and Test Your Landscape Lighting System
Installation hinges on power source. If you’re tapping an existing outdoor outlet, you’ll run a transformer-controlled line from it through buried conduit to your fixtures. If you’re adding a circuit, hire a licensed electrician, this isn’t a DIY task without training, and most jurisdictions require permits and inspection for outdoor circuits.
For a low-voltage system, here’s the basic process: Lay out all fixtures in their planned positions (use flags or spray paint to mark spots). Dig a shallow trench (4–6 inches deep) from the transformer location to each fixture, or route cable through conduit above ground if trenching isn’t feasible. Bury 12/2 or 10/2 gauge low-voltage cable (the gauge depends on cable run length and fixture count: check transformer specs) in the trench, then cover with conduit where needed.
Connect fixture leads to the main cable using waterproof connectors, wire nuts alone aren’t weather-safe. Solder connections if using crimp-style connectors, and seal with silicone caulk. Test lights before backfilling. Mount fixtures on stakes or bases in their planned positions, adjusting angles and height as needed.
Set the transformer in a dry spot (garage, basement, patio cabinet) with a GFCI-protected outlet. Program the timer, most systems include one for dusk-to-dawn operation. Turn on the system at dusk and observe for 15 minutes. Check for glare, dark spots, and unintended shadows. Adjust fixture angles and retest. Plan on spending a full afternoon for a 15–20 fixture layout.
Wear work gloves and safety glasses when digging and handling cable. If you hit a hard line or aren’t confident in any part of the install, stop and hire a professional. Common DIY missteps include undersizing wire (causes voltage drop and dim lights), improper burial depth (fixtures get stepped on or hit by equipment), and loose connections that corrode. Take time with connections and burial, they’re worth the extra hour.
Once installed, test the system monthly during the first season. Check for loose connectors, debris blocking lenses, and timers that have drifted. Adjust seasonal on/off times as sunrise and sunset shift. Most systems require minimal maintenance after the first year beyond occasional lens cleaning and replacing failed bulbs (rare with LEDs).
Conclusion
Designing landscape lighting is about balancing safety, aesthetics, and practicality. A thoughtful plan, informed by your space, goals, and skill level, yields years of reliable illumination. Start with assessment, choose quality fixtures, layer your lighting intentionally, and install carefully. The effort upfront pays dividends when your yard looks polished every evening and navigating after dark feels secure and effortless. If you’re uncertain about electrical work, bringing in a licensed electrician is money well spent and ensures code compliance.


